An AC contactor or Relay can be defined simply as an electric switch that connects between a control circuit and a much larger load. The JD133b relay replacement is one kind of relays applied in differents application fields because of its feature of high performance. In this case, it becomes necessary to replace the relay to facilitate the sustenance of the supported system. In this article, the reader will find information on the proper usage of JD133B relay, signs that could indicate the component is problematic and or at fault, and steps to follow in order to replace this relay with a new one for expected system efficiency.
What Is a JD133B Relay?
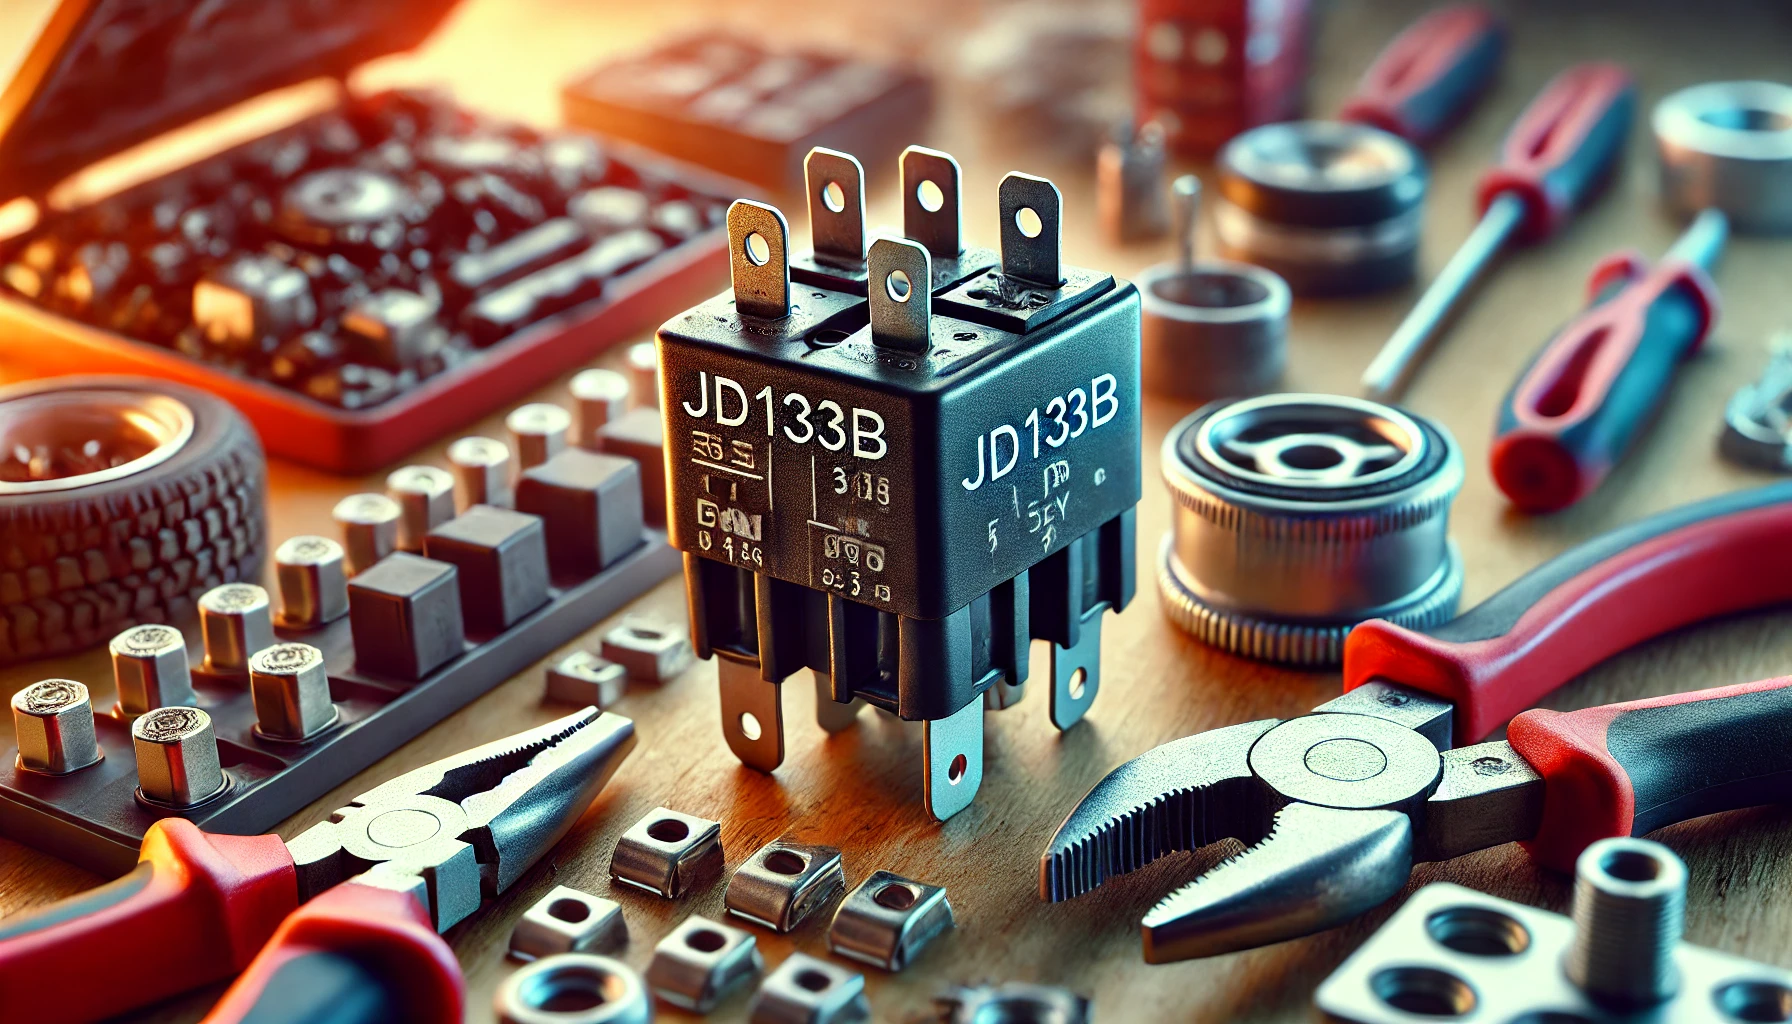
To begin with, the JD133b relay replacement cannot go unexplained, as it is going to be replaced here, so let us catch a glimpse of what it is and why is it needed. A relay is a switch that operates electrically to enable low power circuits connect and operate a high power circuits. This particular model is known as JD133B for it’s an industrial model relay that is highly known for its durability as well as versatility and may be used for automotive relays, industrial relays, and home automation relays. It is limited to moderate electrical loads and is involved in many applications including switching and dimming of lights, controlling of motors and other high current loads.
Features and advantages of JD133B relay
The JD133b relay replacement has some features that make it to act as a reliable component in electrical systems. I have found it to be easy to install since it is fairly compact; it can easily fit into otherwise congested areas. Moreover, the JD133B relay comes with a conventional pin layout in order to make it integrate seamlessly into different systems. This feature of the motor working well within a larger range of voltage enhances that aspect and therefore the motor would be appropriate with many electric applications.
Identifying Signs of a Failing JD133B Relay
Here are the symptoms of a failing JD133b relay replacement. The devices which are in contact with the relay may act haphazardly. For example, it is possible to find out that the devices are operating on and off or do so in a rather random manner. Another obvious indication is the smell of burnt or electric discharge on the relay or a physical charring on the surface of the relay. In worse case scenario, lack of proper functioning of a relay may lead to interruption of the flow of power to the output device. Moreover, operational over heating is also an indicator that something is wrong within the system and needs attention.
Things Needed to Relay Replacement
To start with, get an original JD133b relay replacement that replaces the bad one in the circuit diagram from the electrical store. Phillips and flathead screwdrivers are mandatory to twist off and twist on connections. Other requisites include electrical tape or heat shrink tubing to cover some connectors, you will also need needle-nose pliers to grab wires and parts from time to time. Comparing it to the user manual or electrical blueprint of the system is also very helpful in telling the location of the relay, as well as for proper installation.
How to Change a JD133B Relay
It important to follow the following process to ensure that replacement process is successful and reduce undue risks.
Step 1: Power Down the System
The first step to implement is to switch off the connection supply to the relay circuit. It is important to perform this step to ensure that shocks or harm to the system will not happen during replacement by other people. Make sure that all power supply such as batteries or back up source are off before proceeding as directed.
Step 2: Locate the Faulty Relay
Locate the position of the JD133b relay replacement with your system. In automotive systems the relay may be located in the engine bay or below the automobile’s dashboard.
Step 3: Disconnect and Remove the Relay
Delicately remove all the wires or connections connected to the faulty relay. Pay attention to these or mark them so that they will easily fit back into its proper place. Be careful at this step not to scratch any neighboring components or even the PCB board itself.
Step 4: Inspect and Test the Circuit
It is also wise before putting the new relay let the circuit flow to check for any other problem that might be causing the blowing of the relay. Solve any other issues arising during this step so as to avoid possibile complications.
Step 5: Install the New Relay
Finally hold the new JD133b relay replacement in the correct position and make sure that it fits perfectly within the socket or pin.
Step 6: Test the System
After replacement of the new relay fix the connection of the power supply and check whether the system is functioning properly or not. Check the relay’s behavior and be sure that the control devices react as required. If you have some problem try to check the connections and once again test the relay.
Step 7: Finalize the Installation
After testing the system verifies if it is working okay then fix the relay firmly on its place or housing. To avoid short circuits or other electrical risks thoroughly, you can cover the naked connections with electrician’s tape, heat shrink tubing.
JD133B Relay and Keep It Going For A Long Time
It is therefore important to carry out regular maintenance to the relays such as the JD133B in other to increase the life cycle of the relays. It also includes checks on the health of relays through experience to perfectly see or feel signs of wears, over heating or else and clear of dirt and oxidation of contacts and connectors for good electrical conductivity. Do not apply higher voltage or current than the relay’s rated values With digital logic relay, it is possible to have both high current and high voltage but should not exceed the set limit. It is also possible to prevent an unforeseen system shutdown due to old relay failure through timely replacement of the commonly faulted relay part before it fails.
ODD Relay New: Problem Solving
It is important to know how to deal with failures and avoid using a lot of time to diagnose. If the relay does not click when activated, ensure that the control circuit is supplying the right voltage to relay’s coil. the connected devices do not turn on power check the relay output pins and the device should be okay. relay failures occur often, this may point to over voltage, over heating or wrong wiring in the system that needs remedies.
Some situations that you may need professional help to overcome:
As it is common knowledge to many, replacing a JD133b relay replacement is a relatively simple process, but there are circumstances that may call for professional help. If the relay’s specifications, wiring or its performance is not clear it is always wiser to seek for professional advice that can prevent further inconvenience and additional expenses. Furthermore, if the system has intricate or high voltage circuits, or if there are still problems after replacing the relay it is safer to consult a technician.
Conclusion
The JD133b relay replacement is an important switch which when mounted will facilitate efficient and proper functioning of the appliances which it controls. Knowing all these functions and knowing how to identify failure plus following a comprehensive replacement process can go along way in preserving the efficiency and durability of these systems. This way, you can be sure to replace a JD133B relay without a hitch and with less possibility of it causing a disruption in any activity. Maintenance and replacement schedule that is followed more often guarantees the normal functioning of the electrical systems and protects their stability in the future.